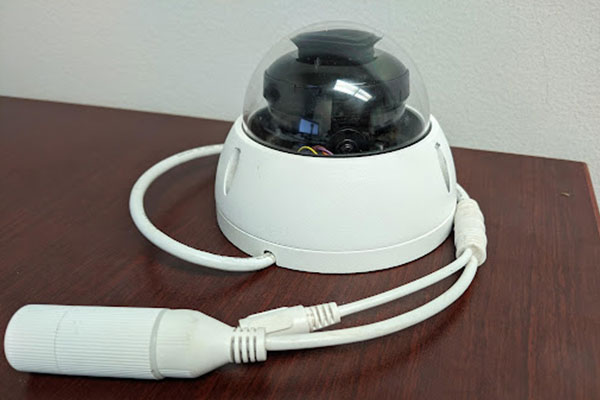
Changing the view angle of an IP camera is a really simple process, but one that can temporarily leave your camera lens and board exposed. Due to this, we recommend a technician make any view changes you require, and stress that any water/debris damage during this process could render the camera inoperable. Please also give us, at Blue Eye, a call before you make any permanent changes. We’d love to offer our expertise on what changes would be the most beneficial.

Step 01: Removing the Cover
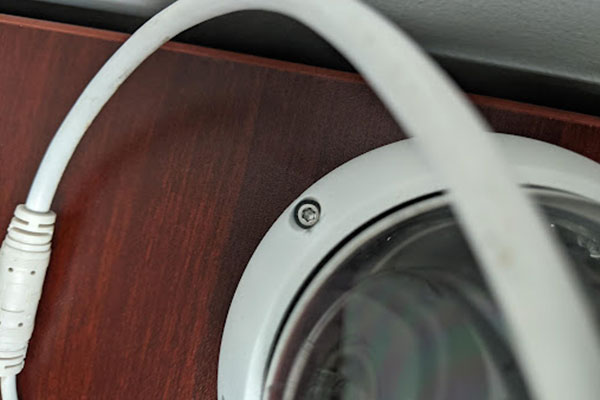
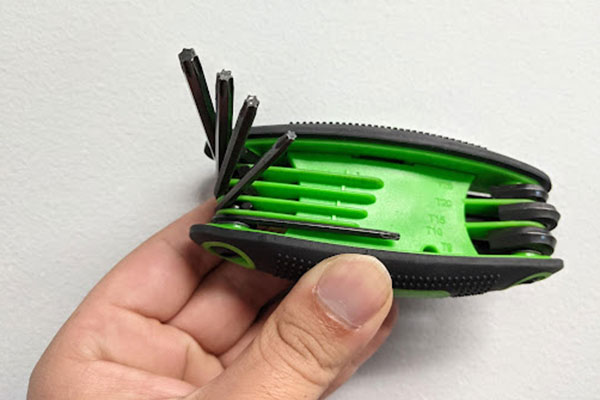
On most dome cameras there are 3 Hex screws that will need to be loosened for the camera cap to come off. We recommend bringing a small Allen wrench set as we’ve seen the size of these screws vary, however, most of the time a “T10” should be the correct size to open the case. Simply loosen all 3 screws until the lid comes off (the Hex screws should stay in the cover)
Step 02: Adjusting the Angle
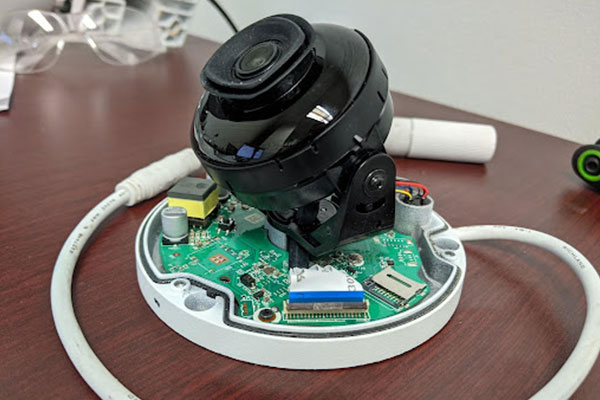
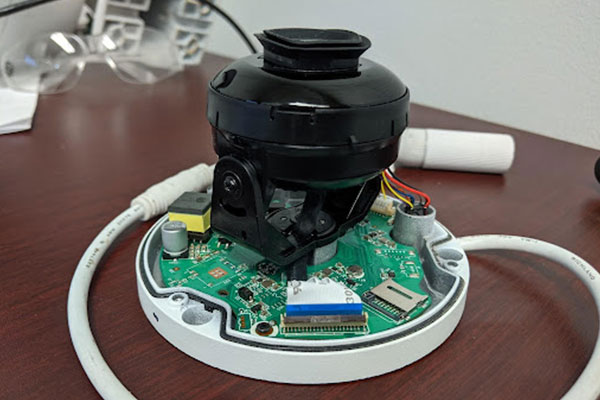
Once the cover is removed, the frame will be exposed and the angle can be adjusted. As you can see the camera lens can be adjusted and tilted from 3 different points to provide whatever angle you need. We’d recommend looking at the camera view through your phone while making these adjustments (or speaking on the phone with a colleague who is looking at the camera view for you).
Step 03: Closing the Camera Back Up
Once you’ve got the angle you like just right, simply put the cover back on the camera (making sure no debris or water got into the lid since it was removed) and re-tighten the same 3 screws. All done!
Bonus Step: Call Blue Eye
After making any changes to your NVR/Camera system, we highly recommend giving Blue Eye a call. For us to provide our best service we’ll need to make sure we still have a connection after any changes and can start calibrating our AI to the new view so we can take full advantage of the change.

